3.OA.A

Fraction Kits – beginnings

So far in summer school, we’ve been working on sociomathematical goals: getting students accustomed to routines and procedures for sharing their thinking in pairs, in written work, and in whole-group dicussions.  Mathematically, the activities and lessons we’ve used to develop these goals have been focused on multiplication and the relationship between skip counting, grouping, and array models of multiplication. This has helped us identify students who need extra support (since multiplication isn’t ‘new’ content for 3rd grade) while also being a slightly more approachable area to start number talks with.

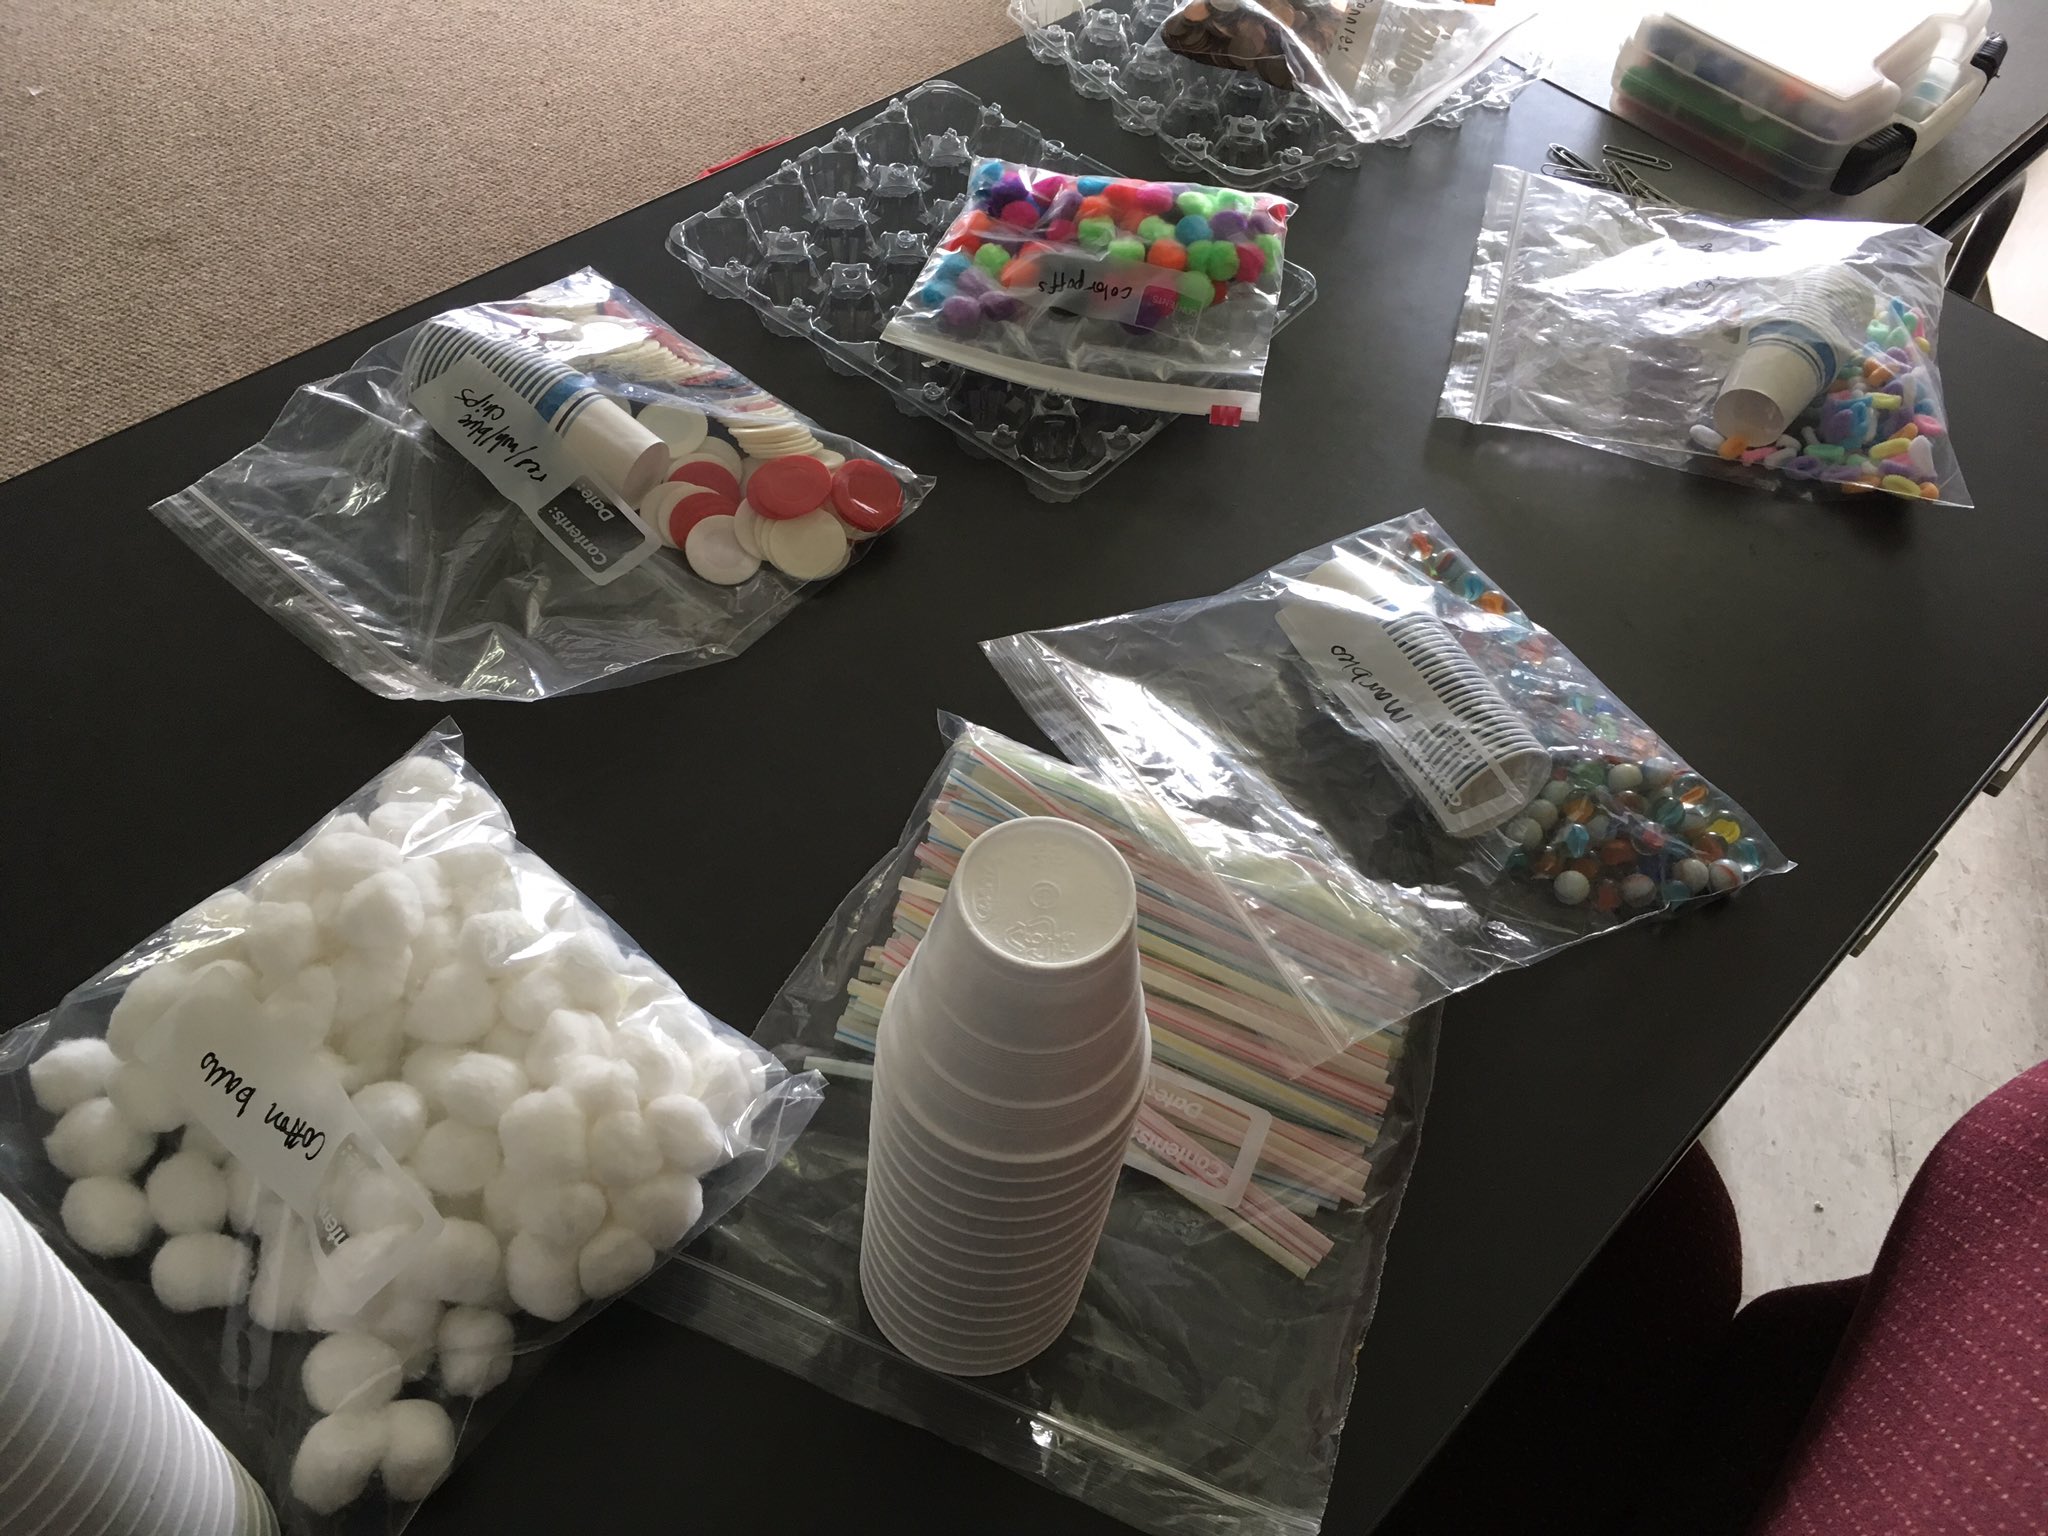
Last week in our classroom, we began work on the content standards that gave our 3rd graders the most trouble on the end-of-year assessments administered by the state and by the school: fractions. Specifically, these students need additional support in understanding what a fraction represents, how fractions can be represented on linear models, and how fractions can be different and yet equivalent. To start this work last week, we began by creating Fraction Kits based on the insight and advice of Marilyn Burns, whose book has been an excellent tool for lesson planning and mapping the mathematical terrain we need to help students explore this summer.

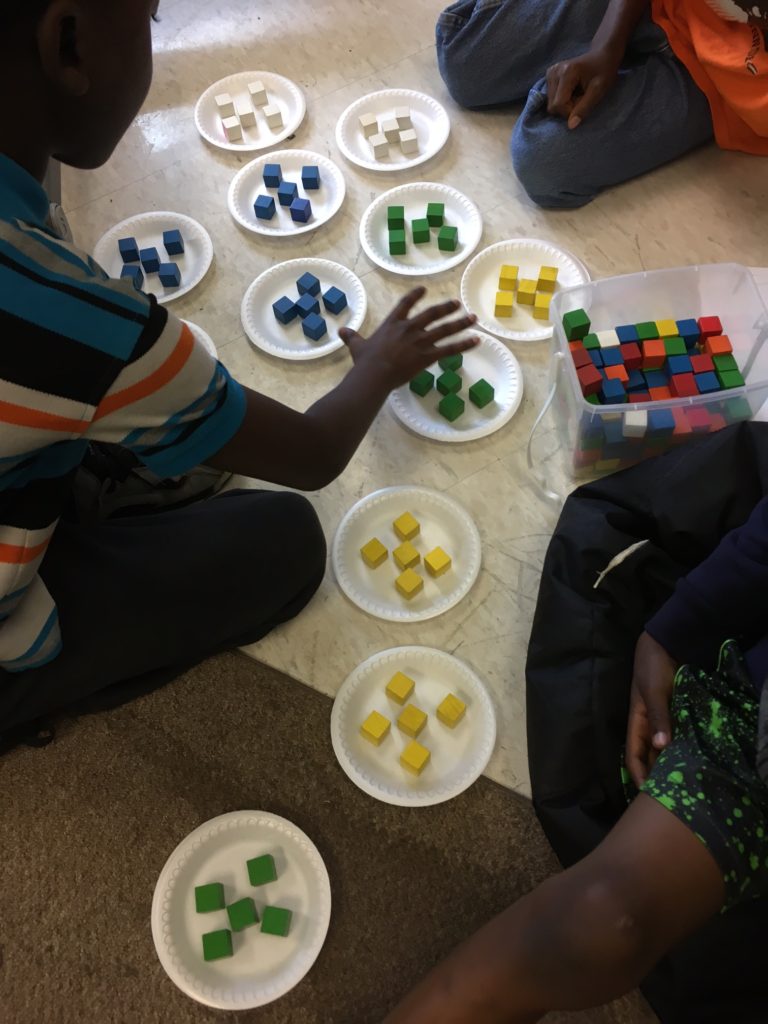
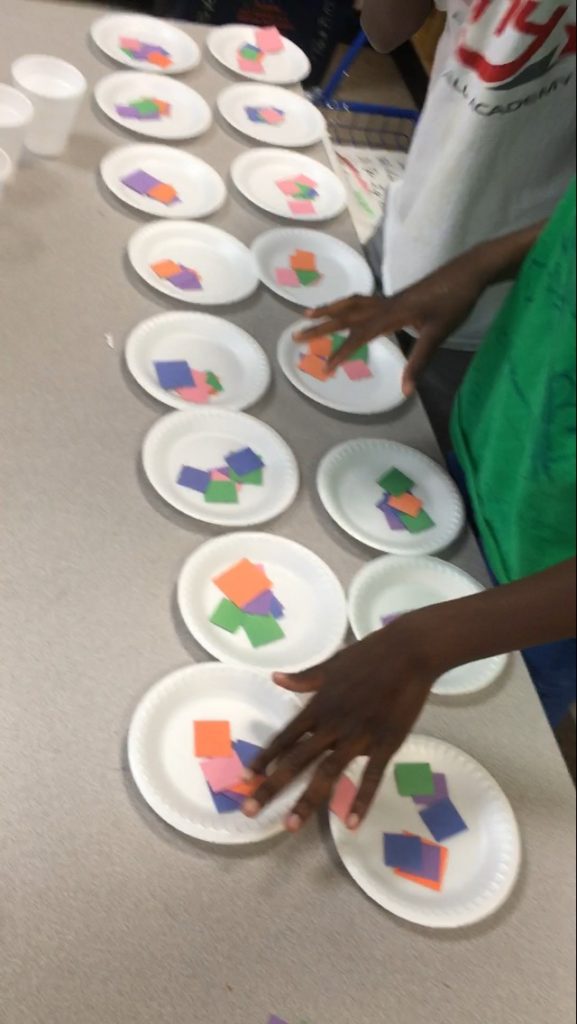
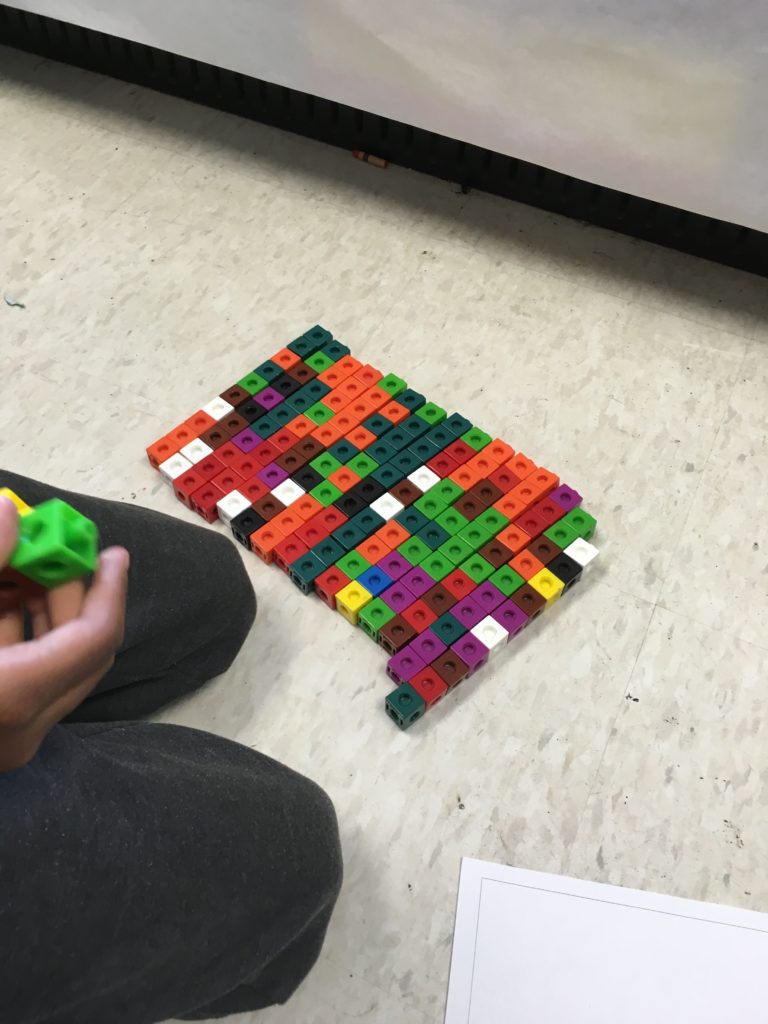
Monday and Tuesday we spent time counting collections, and observing how students were grouping objects.

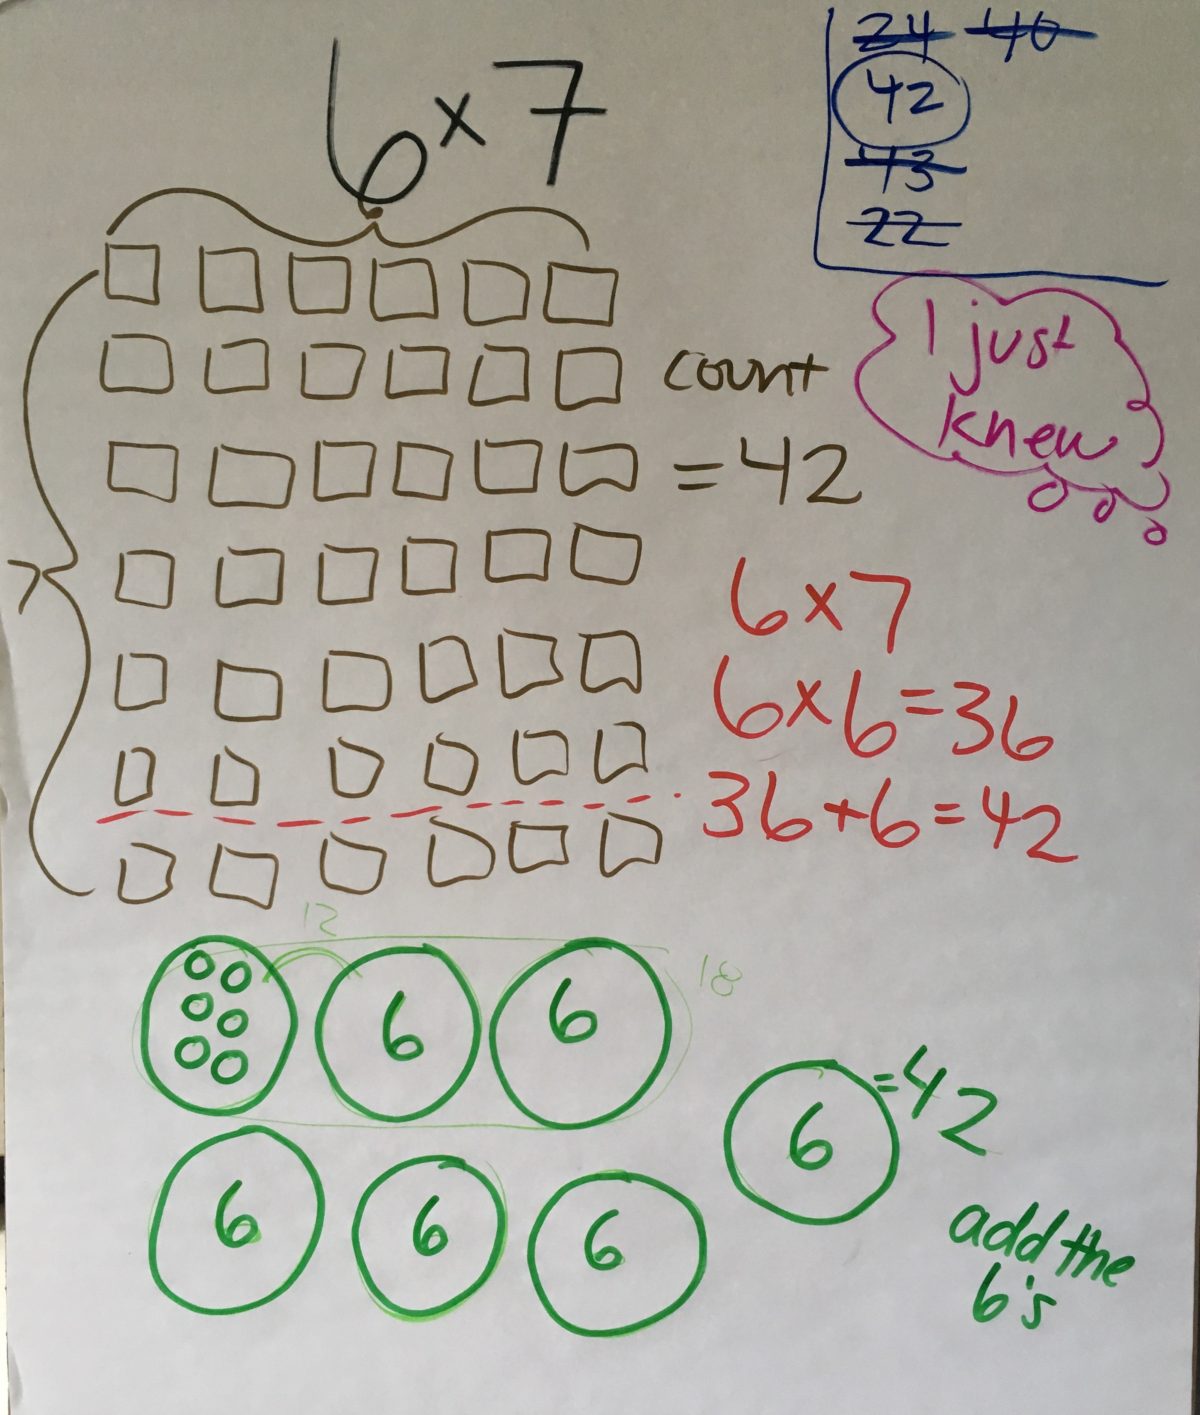
Wednesday we began math class with a mental math number talk, solving and discussing strategies for 6×7. I was glad to see that students were willing to persist even if they didn’t “just know it” from memory – they were willing to think and find a means of figuring out the problem.

After our number talk, students returned to their seats where each received a set of pre-cut strips of construction paper and a large envelope cut from similar construction paper. They wrote their names on the envelopes and tucked them inside their desks.

Next we went through the process of folding our strips. For each strip, we:

-folded (I first modeled how to fold them)
-predicted how many sections there would be before opening to see
-decided as a group how we might then label each section
-waited for each student to fold, unfold, label each section, and label the back of each section with initials.

Once every student had their fraction pieces folded, labeled, and affixed with initials, we passed out scissors and got them cutting.

Why do, We do, You do?

I want to note that ordinarily, I steer away from “I do, we do, you do” type teaching. However, for creating fraction kits, I modeled first, together we decided how we might name/label, and then asked students to do it on their own. The reason I thought modeling and duplication was fitting in this instance is that our goal was for students to create tools that they could then use to explore fraction relationships. If their kits weren’t created correctly (and some weren’t: a couple students mis-folded and needed help to tape or re-cut later), they might develop some sneaky misconceptions about how much bigger 1/4 was than 1/8, etc.

So why not pre-cut the strips?

Giving the students a chance to fold and cut did elicit some students’ initial ideas about what those weird hyroglyphs called fractions might mean: many students were catching on to the pattern that “8 pieces mean each is called 1/8” and so on. Folding their own strips was also a useful opportunity for them to consider what happens when you take a half and fold it in half. For instance, when we folded the strip into 1/4ths, many students predicted that we would unfold the strip to find 6, 8, or 10 segments, rather than 4. Similar guesses of 10, 15, and 20 came out when we folded the strip into 1/8ths by folding it in  half, half again, and half again.

Wrapping up

Because we opened with a number talk, we only had time to get the strips cut, labeled, and put away on Wednesday. But we did close by asking students to see if they saw any “matches” between strips of different size. This got a few initial ideas out on the table (or in our case, the smart board): two 1/4th sized pieces was the same as one 1/2. Similarly, two 1/8 sized pieces was the same size as 1/4.

Counting Collections: not ‘too young’ for 3rd graders

The students in our 3rd grade summer school classroom have many strengths. They work well with partners, they can commit to a strategy until they have finished a problem, and they are curious and excited to solve problems.

The third grade standards outline that third graders should be developing algebraic reasoning to help them relate addition to multiplication and division, and that they should be developing conceptual understanding of fractional parts of wholes, modeled in sets, area models, and linear models. While some of these goals still seem a bit far from our current students, we are working to approach these goals in stride by building on what they are already comfortable and confident with: counting.

For that reason, we spent time Monday and Tuesday doing some counting activities: Counting Collections and Choral Counting.

Counting Collections

I learned about Counting Collections as an instructional routine from the good folks at TEDD.org, whose work in teacher education pedagogies has been foundational for my own work as a teacher educator at Syracuse University.

Counting collections is an engaging, hands-on activity that packs a lot of ‘punch’ mathematically. Students work in pairs and are given a collection of objects to count, and some kind of sorting tool.  They devise a way to count their collection, follow through with their plan, then represent their thinking on paper using words, pictures, and/or numbers. This activity is great for getting a view into how a student relates counting to grouping and multiplying. For instance, many students in our class will group objects into the sorting tool, but then proceed to count them by 1s.  Others sort, then skip count. Others will sort them out, count up the groups, then multiply to find the final answer.

Collections I use: rocks, vase stones, marbles, cotton balls, multilink cubes, 1″ wooden cubes, 1cm plastic cubes, pennies, red/yellow counters, plastic drinking straws, small cloth hair bands that come in packs of 200 or more [The dollar store is great!!]. Most of the collections are around or just over 100.

Sorting tools: egg cartons, small dixie cups, 8oz styrofoam cups, 6″ styrofoam plates, rubber bands, large egg cartons (The kind that hold 36 eggs).

The routine:

1. Expectations!

We start by outlining (and on subsequent days, reviewing) expectations for student work during a counting collections activity:

  • Respect your partner by taking turns, being kind, trying to help, being fair
  • Respect the materials by taking care of them, keeping them clean, putting them away at the end like you found them
  • Listen and Explain to understand – don’t stop until you both agree and understand on how you’re sorting, organizing, grouping, counting
  • Help your teachers understand your thinking by explaining with words, by writing neatly, by using words, numbers, and pictures to show how you grouped and counted

2. Find a partner, find a seat!

Students get with a partner and move to a place on the floor where they have some space to themselves. I recommend not working at a desk, because small things (pennies, marbles) will roll off or slip through cracks.

3. Pass out collections.

Certain collections will become extra treasured (in our case, the marbles), so emphasize that you’re passing them out randomly, but that each student will get opportunities to count new collections each time. Something we haven’t done that I plan to implement: adding a “log sheet” index card to each collection baggie, so that each pair of students can write their names to keep track of which they’ve counted and which they haven’t.

4. Get counting and recording.

As students work, the teachers move around the room, asking students to explain how they’re grouping and why, and how they’re using those groups to help them count. This is a great opportunity to press on students who seemed to have chosen an arbitrary group size (one pair of students in our class grouped their paper squares by 6s, but because they weren’t comfortable with their multiplication facts for 6, ended up counting by 1s). Other students might need very little press or questioning to realize that they can combine their groups into larger numbers – such as a group of girls who realized they could combine their cups of 5 marbles into cups of 10 marbles, which was more efficient to count by.

Students then record their counts on a recording sheet, which provides more space to show how than to show their answer (for a reason!).  Ultimately, objects get lost or misplaced, so there’s no way of really knowing whether the students were ‘right’ in their counting – this is more about seeing how they’re representing objects and numbers (do they have to draw every object, or can they use numerals as shorthands? Are they adding or multiplying? Can they articulate their thinking in writing yet?).


Overall I’m impressed with how the students are doing, and I’m eager to see how they’re able to extend their reasoning from the counting to mental math problems involving multiplication.